

The first year with my One Little Word® project, I selected embrace as my word, and one of my goals for the year was to embrace more creativity in my life. I had been fascinated with recycled magazine crafts for a while and decided to give it a try.
It’s a super easy project, although it is time-consuming to make a lot of circles, and you will need quite a few to make something larger like a bowl. It makes for a fun, creative activity while watching TV. There are many great sites out there on the internet that give various instructions and show all the amazing things you can make with recycled magazine circles. The cool thing about this craft is that it’s not exact, and there are many variations on the path to a successful project.
When I started, I didn’t have a specific end goal in mind, but as I continued to make more circles, I decided a decorative bowl would be fun. Below is the method that I used for creating my bowl.
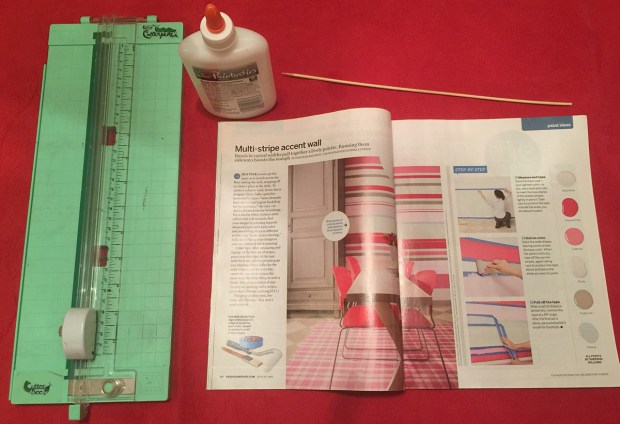
Supplies
It’s not a supply heavy craft!
- I used a paper-cutter to cut my magazine strips but scissors would be okay too. The cuts don’t have to be exact.
- For rolling the magazine strips, I used bamboo skewers, but knitting needles, or other long narrow implements would work fine. You just need something that you can use as a guide as you roll the magazine strips.
- You will need glue to hold it all together. For the example below, I’m using regular white glue. But, for most of the project I used a glue stick. Any white craft glue should work, although you’ll want something that dries transparent so you can see all the colors of the magazine.
- You’ll also want some Mod Podge or sealer to coat the project when done.
Instructions
Step One
Cut 2 1/2″ wide strips out of old magazine pages. You can play around with a width that works best for you. The width that you use, and how you roll it, will impact the final size of the recycled circle. You’ll also want to play around with cutting strips that incorporate different colors so that you get a variety of colors and patterns in your final circles.

Step Two
Start at an angle on the bottom edge of the strip and roll it using the bamboo skewer as a guide. You’ll want to keep rolling at an angle so that you make a long, thin strip.

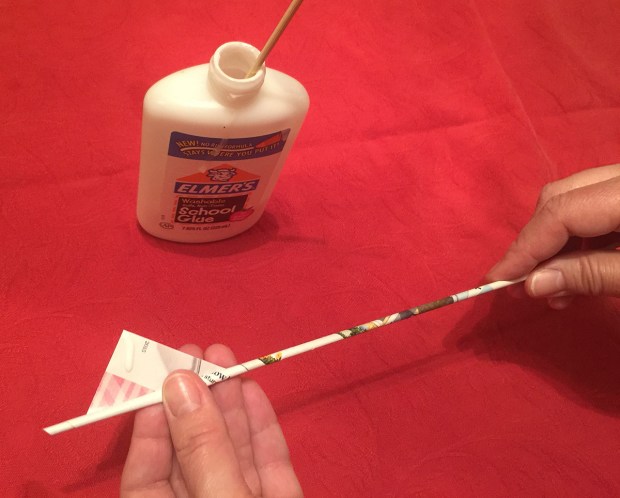
Step Three
Once you get to the end of the strip, put a dab of glue and hold it down until the strip is secure. I am using regular, white glue in this picture but, as mentioned previously, I used a glue stick for much of my project so there’s some flexibility.
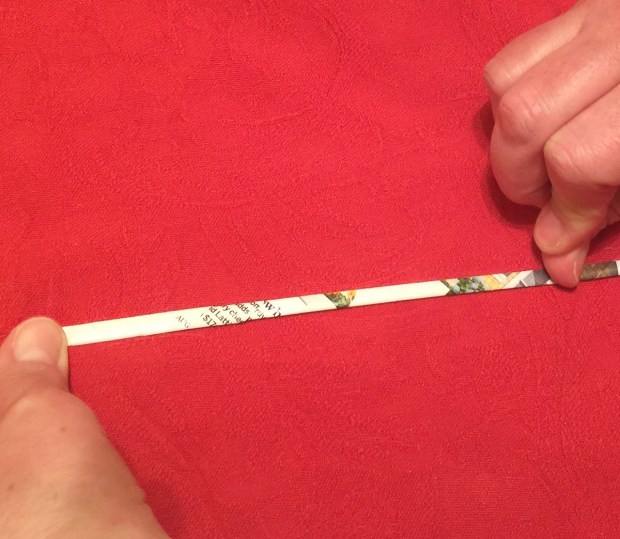
Step Four
After the strip is secure, you going to want to flatten it. Remove the bamboo skewer and then lay the rolled strip on a flat surface. I used my thumb and applied pressure to flatten it out. A bone folder would work too.
Step Five
Once it is flat, you’re going to roll it into a circle. I used the bamboo skewer again as my guide to roll it along the flattened side into a circle.

Step Six
When you get to the end of the circle, you are going to secure it with glue again.
** tip ** When I was making these circles in bulk, the thing that happened the most often, was that I tried to rush the glue drying time. I would let it go too early which would cause the circles to pop back open. It was a quick fix to re-roll the circle, but keep in mind you want to be sure the glue is dry and secure before letting go.

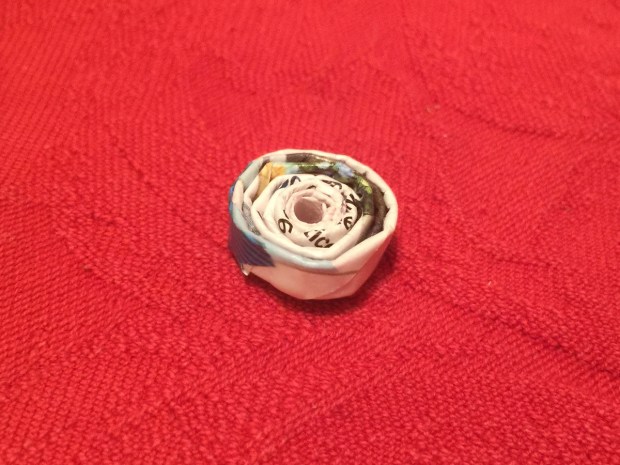
Step Seven
Here is the finished recycled circle. Now you’ll need to repeat the steps many, many times to have enough circles to turn into a bowl or other creation. Depending on what you decide to make, you may not need quite so many circles.
Final Project
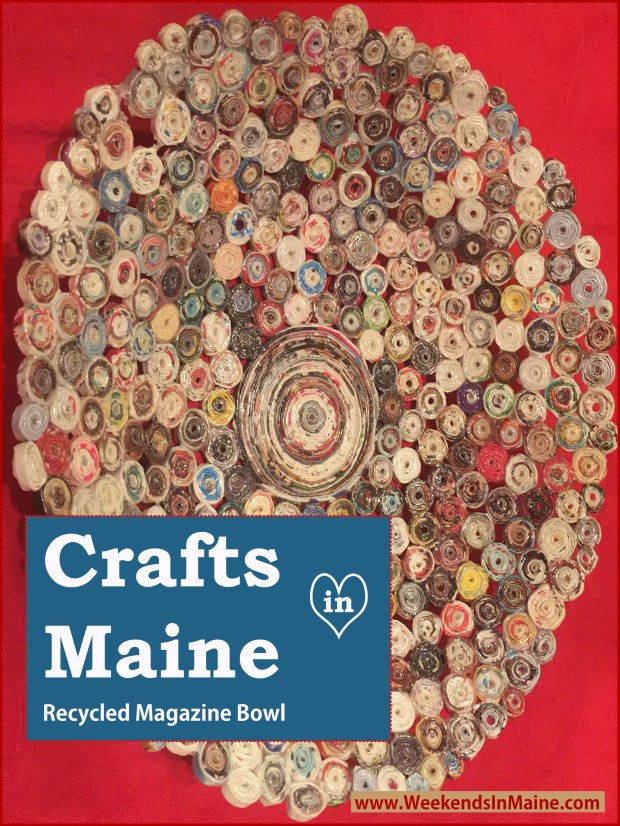
As I said, after starting to make my circles, I decided that I would make a decorative bowl. I used a large metal bowl covered in saran warp as my template. I made an extra-large circle that I could use as the base of the bowl.
** tip ** To make an extra-large circle, continue to attached and wrap additional flattened strips each time you come to the end of your circle. Continue adding strips until you have the size circle that you want.
Once I had the base, I started gluing the rest of the circles to the base and each other in a random order forming the bowl. As you can see from the pictures, it is not an even, uniform bowl but a little more whimsical.
Once everything was glued together, I covered the finished product in three coats of Mod Podge to reinforce the connections and protect the circles.


I wasn’t sure how durable it would be, but it’s been around for a couple of years now and it’s still going strong. We don’t put heavy duty stuff in it, mostly keys or mittens – things you walk into the house and need to “drop” into something. It often sits empty, but I love the color and texture it brings to my entry way.


One thought on “Recycled Magazine Circles Decorative Bowl”